Setting up new users
Overview
Setting up a new user in Efimis requires following a series of steps across both the Desktop application and Billing system to ensure proper access and permissions.
Under no circumstances should an old user's account be used for a new staff member. Always create a new account with unique credentials.
In order to set up a new user, please follow the steps below:
Step 1: Access Settings in Desktop Application
In the Desktop application, click the Settings Icon.

Step 2: Add New User in Staff and Users
Under Staff and Users select ADD NEW.

Step 3: Enter User Details and Enable Access
Enter the new user's details and select Enable access for this user. This will send an email to the user for a first time login where they can set up their password.

Configuring Employee Details in Billing
Step 4: Open Employee Card in Directory
In Billing, go to Directory > Employees and open the new employee card.
Step 5: Update Employee Information
Select Update > Employee.
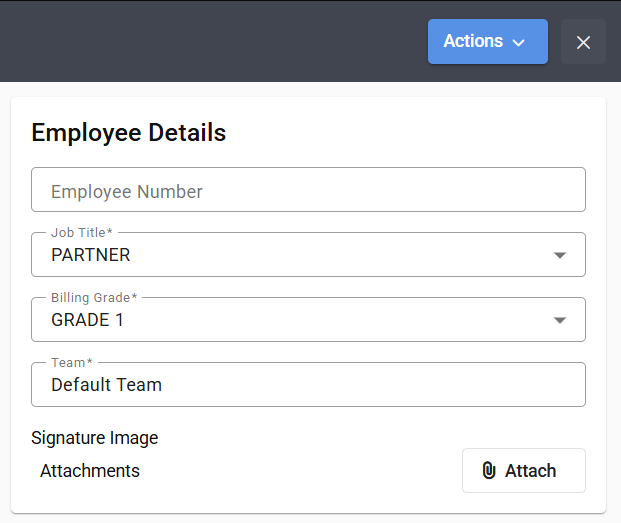
Step 6: Enter Job Title, Billing Grade, and Team
Enter a Job Title, Billing Grade, and Team.
Setting User Permissions
Step 7: Invite Employee with Role
Select Actions > Invite Employee.
Step 8: Select User Role
Enter the relevant role (must be a System role) for the new user—this will set their permissions. Select Invite Employee.
If you are unsure of what roles are available, please view the Roles & Permissions article.
The user will not receive an email invite into their inbox. This simply confirms the email address they will sign up with. The user will still need to follow the signup process here: Login Changes
Finalizing the Setup
Step 9: Save and Close Employee Card
Select Save & Close.
Step 10: Verify Entity
Select Verify Entity.
Step 11: User Ready for Access
The new user will then be able to log into the Desktop and Billing side.