Text Templates
Overview
Text templates are used to auto populate the narration of the reason field for trust and office receipts & payments, purchases, work items and discount lines for invoices.
TABLE OF CONTENTS
Discount Reasons
1. To create text templates, navigate to the top menu and click on the Settings tab and then Firm settings.

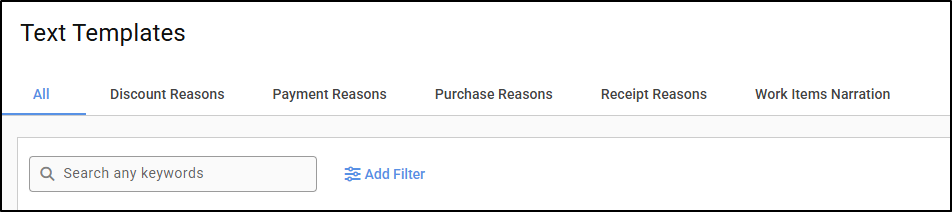
2. Click on the General button on the top left of the screen and then select Text Templates.
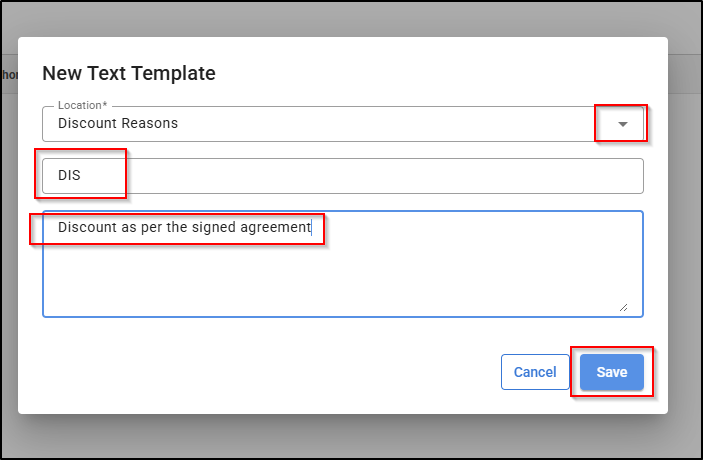
3. Select Discount Reasons and then click on New Text Template.

4. Select a Location from the drop down, enter a Shortcut code and a description in the value section. To save, click on Save.
5. To edit a discount reason, select the ellipsis on the right of the text template and select Edit. Once changes are made, clickthe save button.

6. Please see the guide on how to use the discount reason text templates in an invoice: Creating and editing an Invoice
Payment Reasons
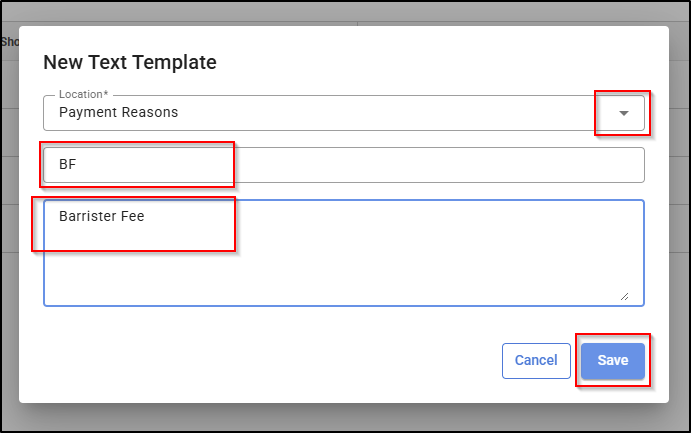
1. To create a new payment reason for either office or trust select Payment Reasons and then click on New Text Template.

2. Select a Location from the drop down menu, enter a Shortcut code and a description in the value section. then click on Save.
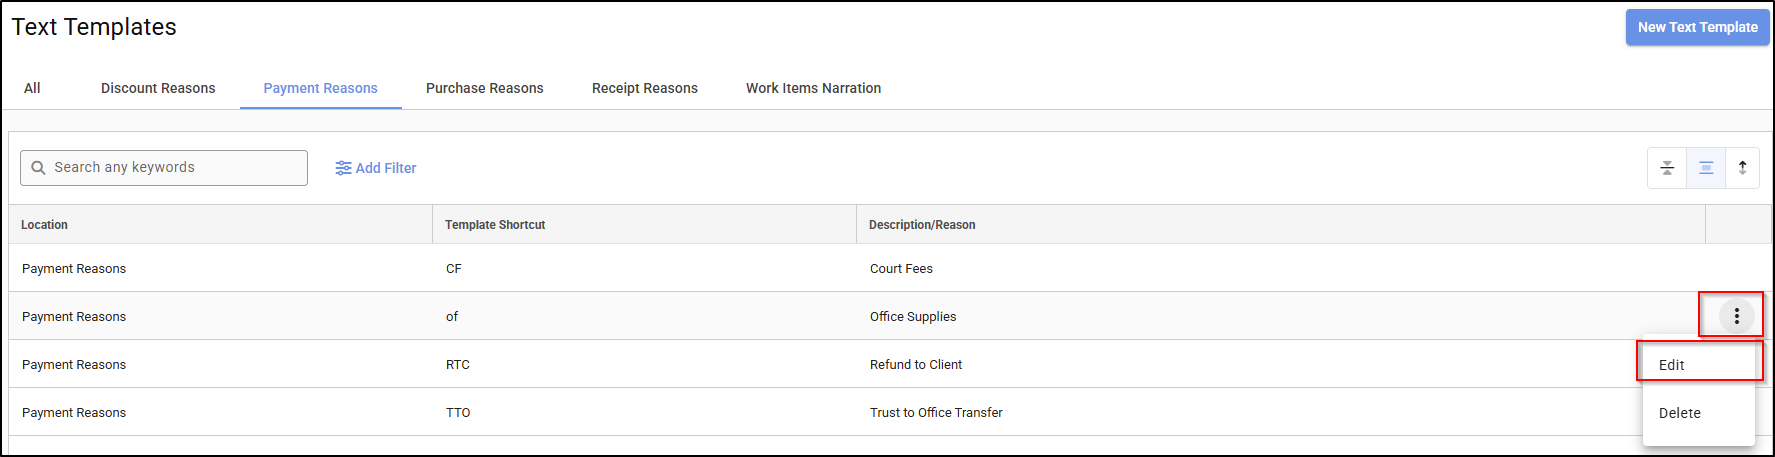
3. To edit a payment reason, select the ellipsis on the right of the text template and click on Edit. Once changes are made, click on Save button.
Purchase Reasons
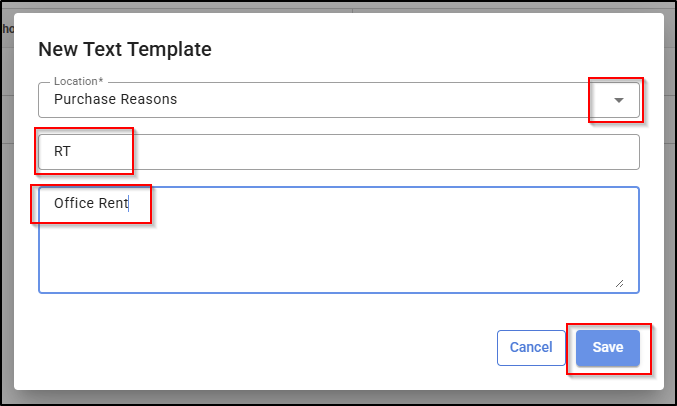
1. To create a text template for purchases or creditor transactions select Purchase Reasons and then click on New Text Template.

2. Select a Location from the drop down menu, enter a Shortcut code and a description in the value section. Select the ellipsis on the right of the text template and click on Save.
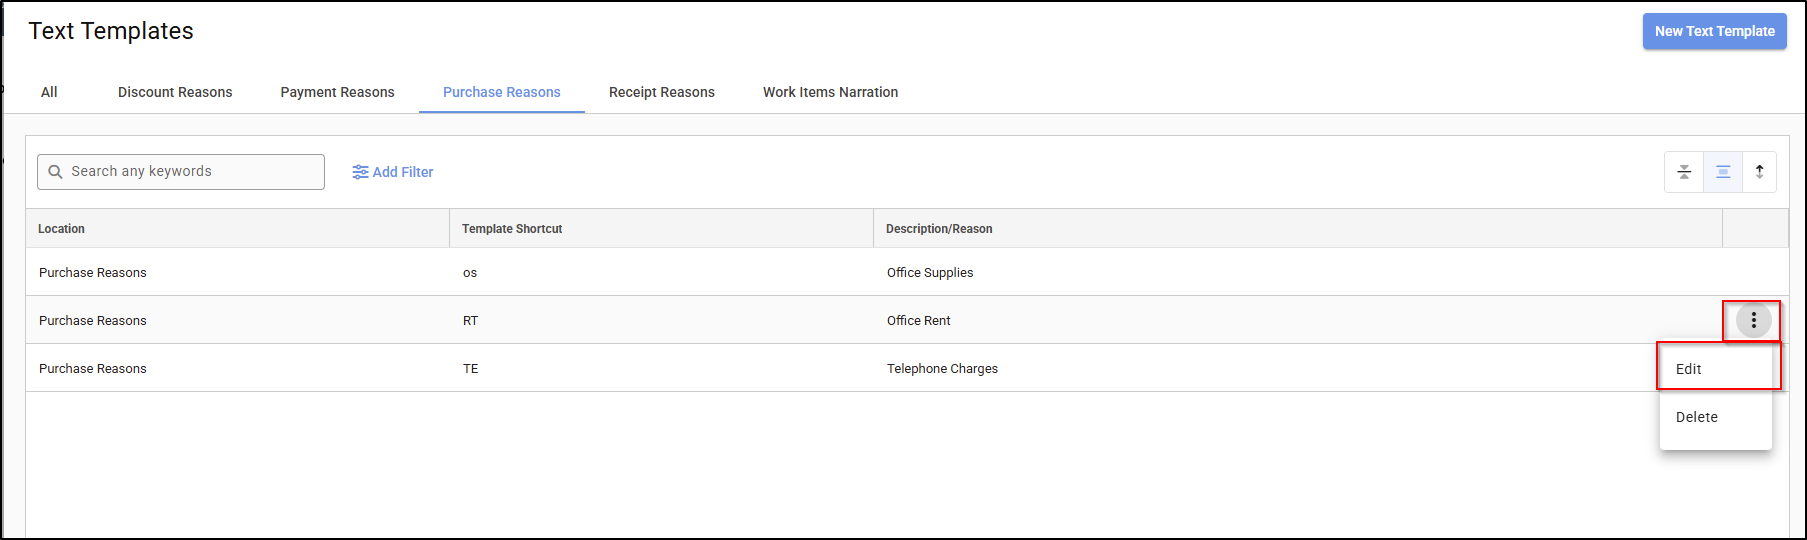
3. To edit a purchase reason, select the ellipsis on the right of the text template and click on Edit. Once changes are made, click on the Save button.
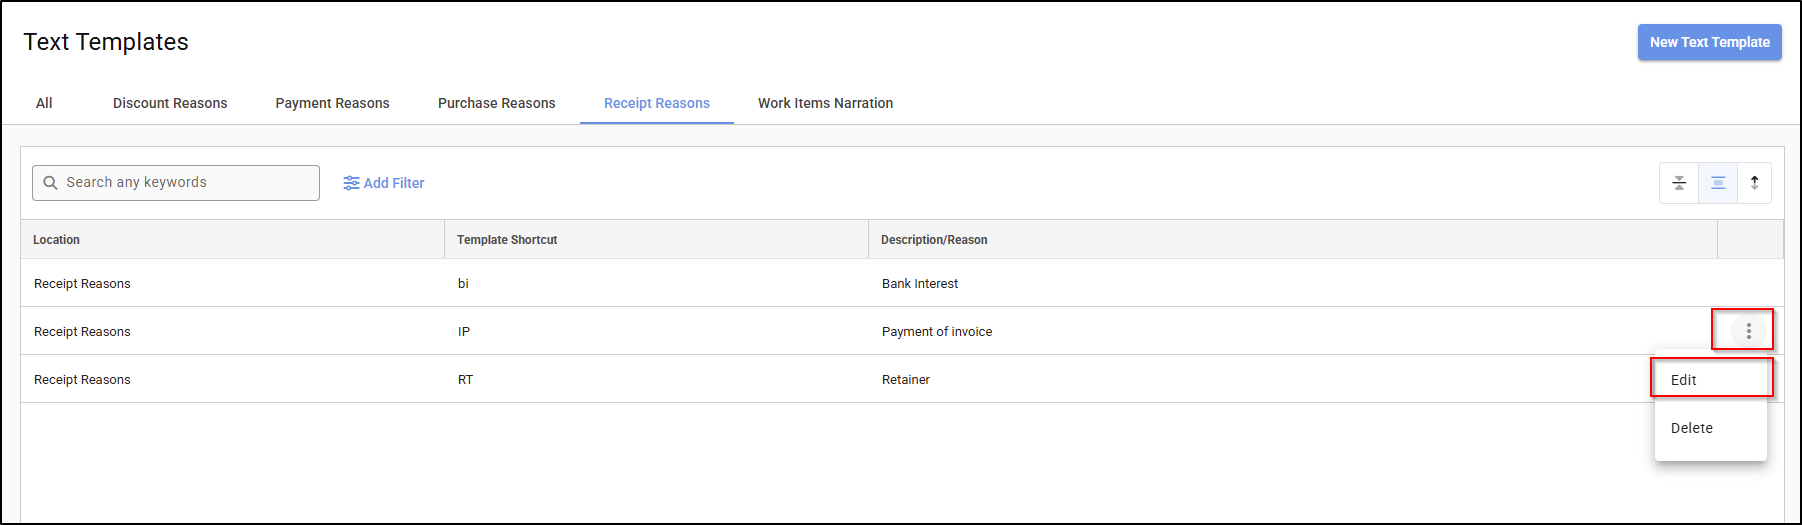
Receipt Reasons
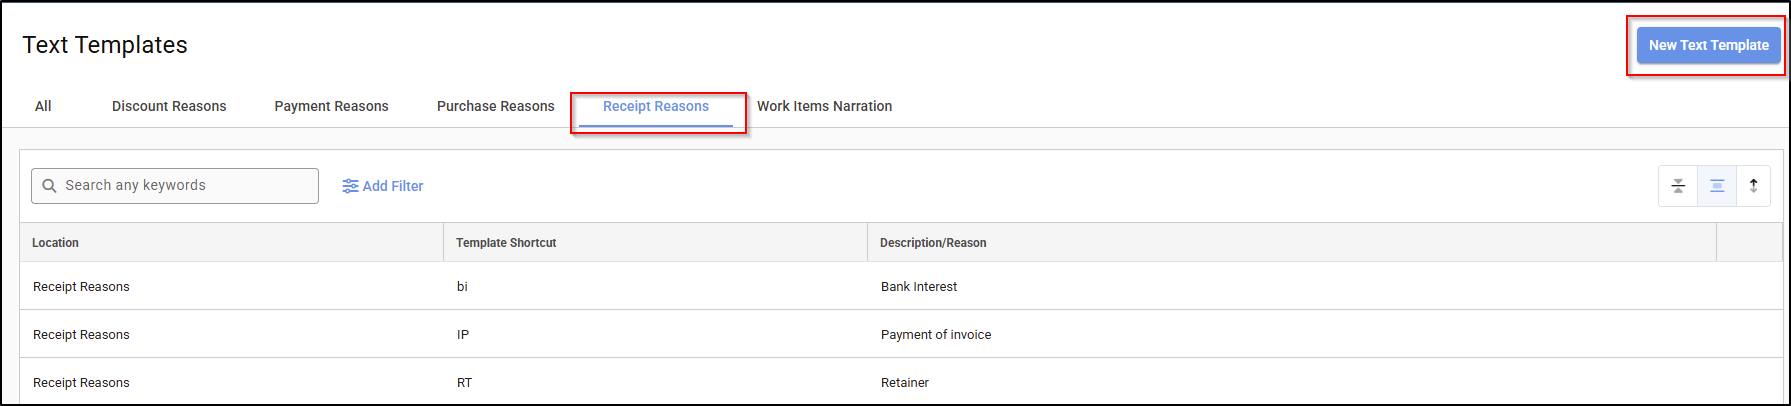
1. To create a new receipt reason for either office or trust select Receipt Reasons and then click on New Text Template.
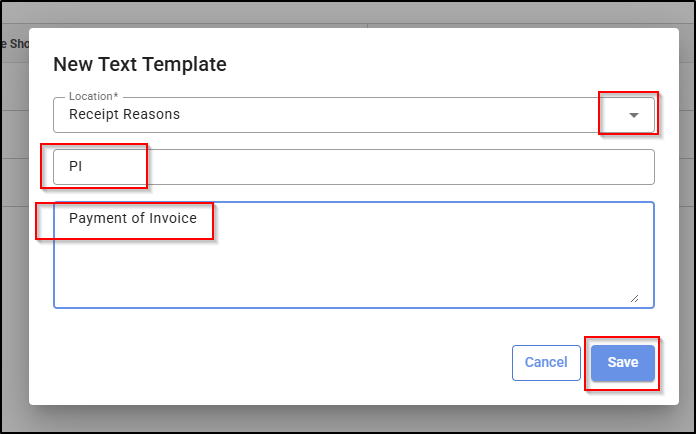
2. Select a Location from the drop down menu, enter a Shortcut code section and a description in the value section and then click on Save.
3. To edit a receipt reason, select the ellipsis on the right of the text template and click on Edit. Once changes are made, click on the save button.
Work Item Narration
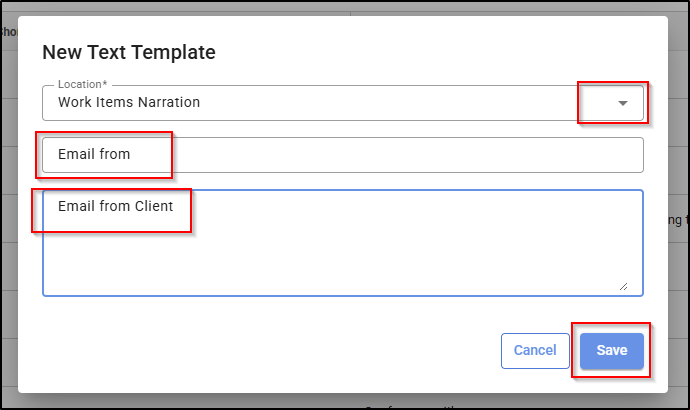
1. To create a work item narration for timesheet entry, Select Work Items Narration and then click on New Text Template.

2. Select a Location from the drop down menu, enter a Shortcut code and a description in the value section then click on Save.
3. To edit a work item narration, select the ellipsis on the right of the text template and click on Edit. Once changes are made, click on the Save button.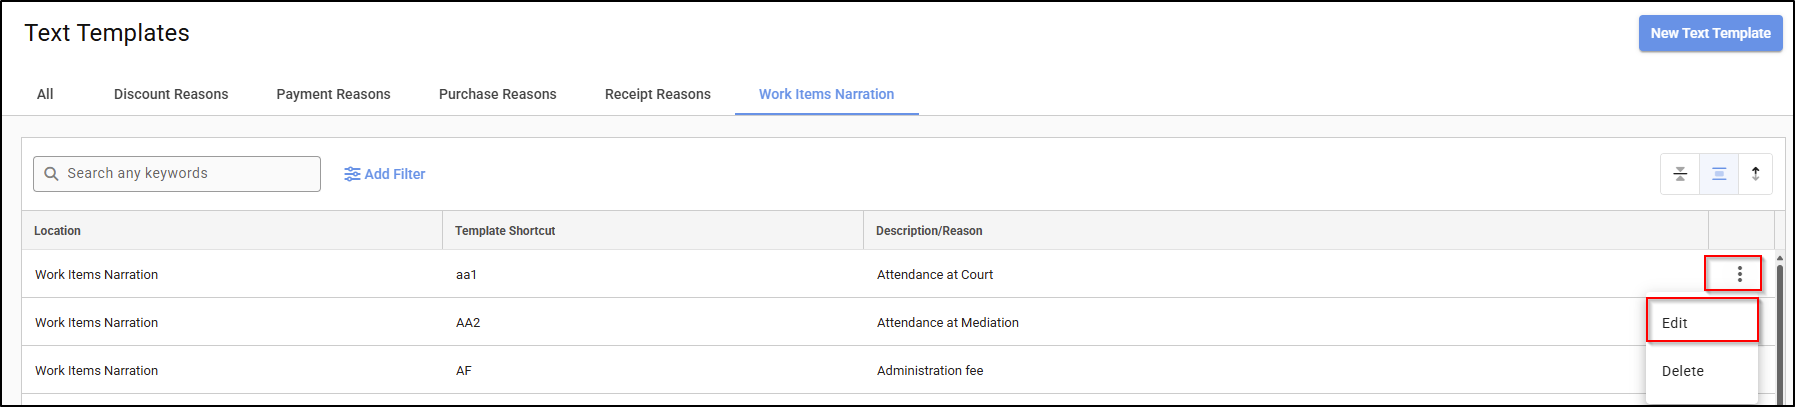
4. Please see the guide on how to use the work item narration to group text templates in an invoice: Creating and editing an Invoice.