Document Containers
Overview
Learn how to add and organise document containers to ensure consistent branding across correspondence and documents you create.
TABLE OF CONTENTS
- What is a document container?
- Locating your container templates
- Add a new document container
- Modifying an existing container
- Configuration options
What is a document container?
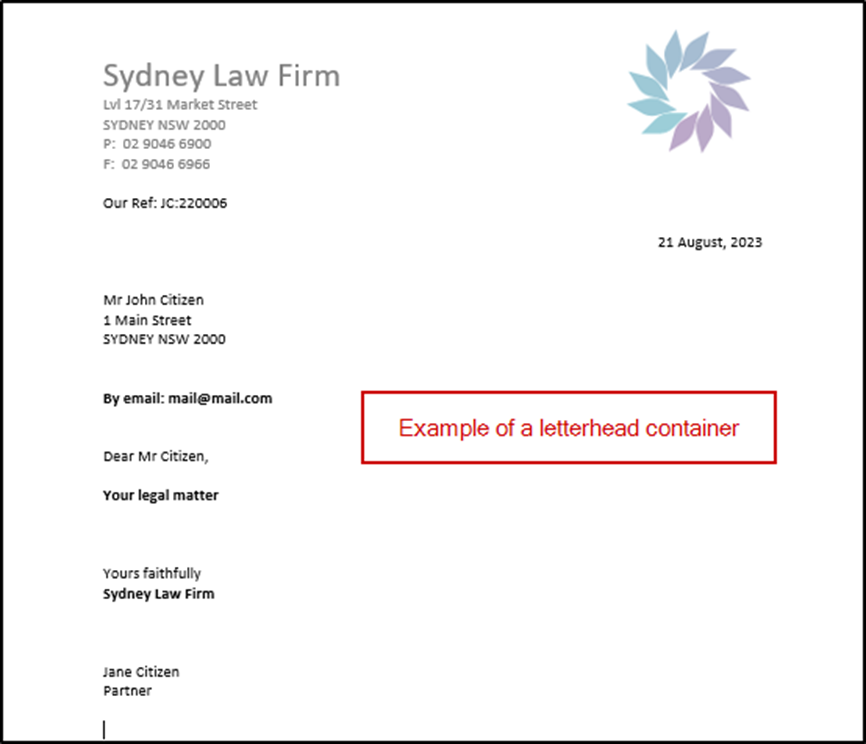
Document container acts as a template that "contains” your firm details and branding. Different containers can be configured for different purposes. Common examples are letterheads, which would be configured to also populate addressee details, subject lines and sign off clauses. File notes are another example and they would be configured to populate client, matter and current user details.
When precedents are set up within the system, they can be configured to generate on a default container (eg a letterhead). If firm details change, you can update the relevant information in the Settings, which are in turn linked to your containers, meaning that by updating the information in one place, any letter or precedent which uses the container will also update.
Locating your container templates
1. Open the Settings either via the cog in the top right-hand corner of the application (1) or via the File menu (2).

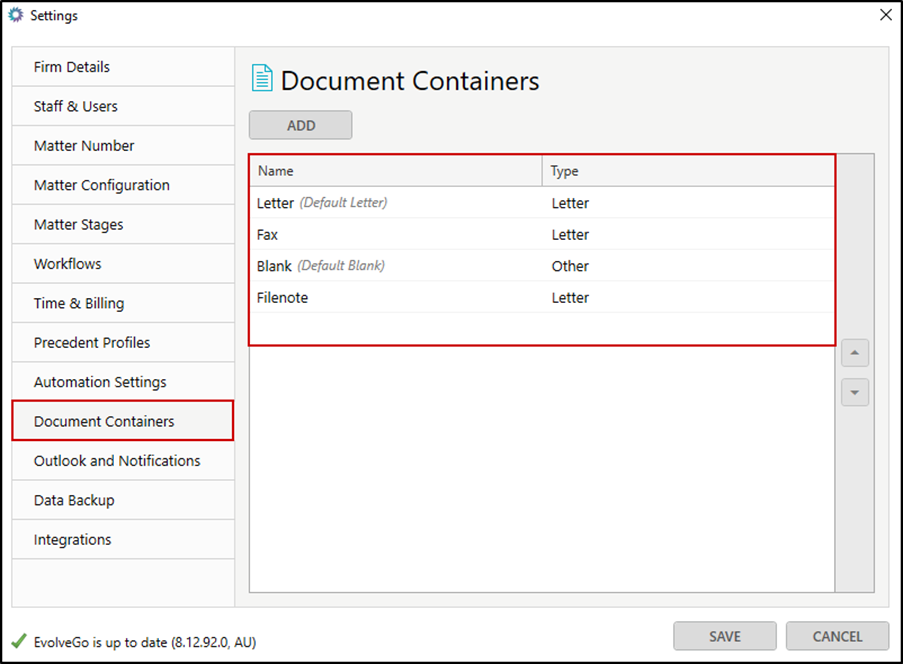
2. Select "Document Containers" from the menu on the left and the list of containers currently configured in your system will be listed in the panel on the right.
Add a new document container
To add a new document container, follow these steps.
1. Select "Add".
2. Enter a name for the container.
3. Select a type from the drop-down list.
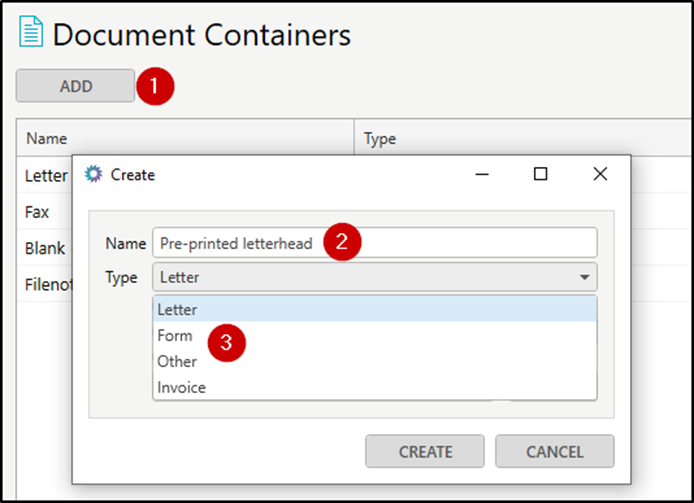
- Letter – a letterhead and signature block.
- Form - a Court form with a caption and signature block.
- Other – used for custom types of document containers.
- Invoice – used for preparing a Word invoice. Note this will not link through to the accounting side of the system.
4. Select the base document you would like to use to create your new container, and select Create:
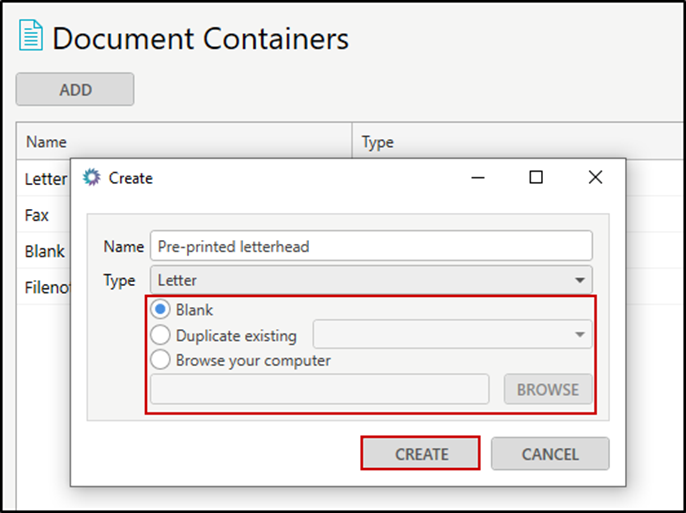
- Blank – a blank Word document will open for you to start configuring your container.
- Duplicate existing – this allows you to select an existing container as your base document.
- Browse your computer – allows you to select any document from your computer to use as your base document. Note: any styles or formatting in the existing document will carry into your container.
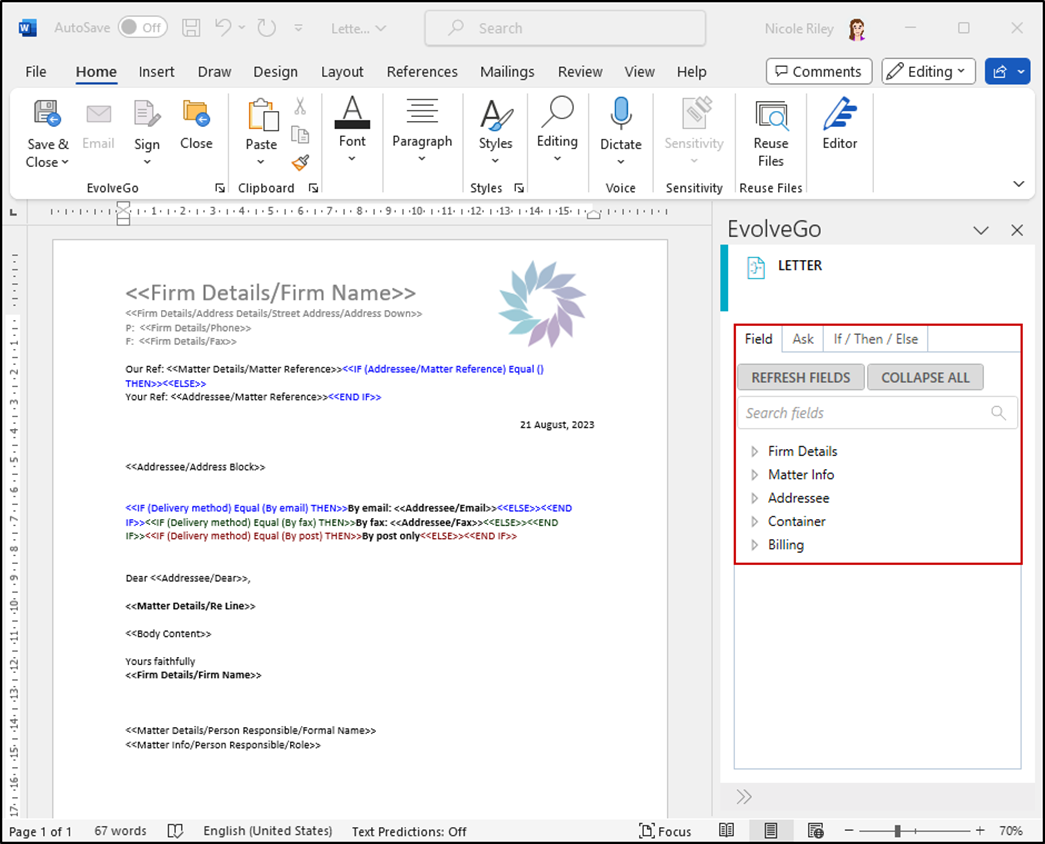
The document will open in Word with the configuration options in the side panel add-in:
Modifying an existing container
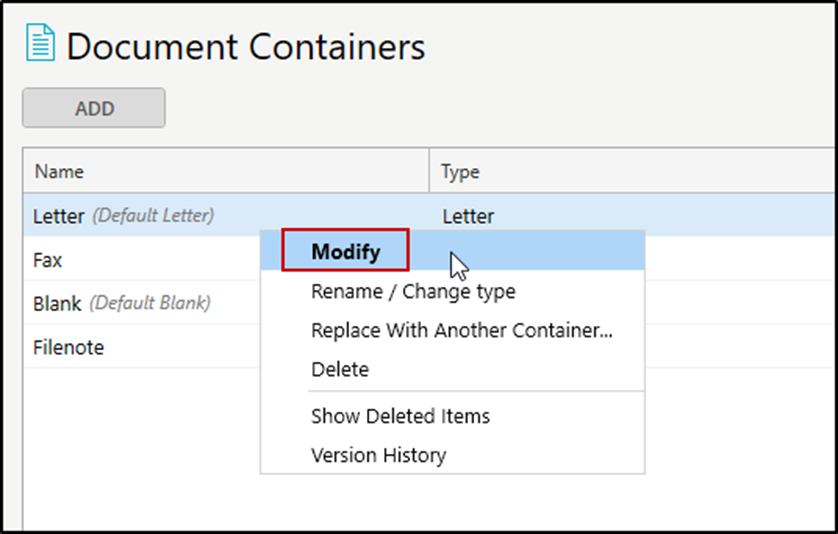
1. From the list, right-click on the container you would like to make changes to and select "Modify".
2. The document will open in Word with the configuration options in the add-in.
3. Use the add-in to select the fields you want to automate in your document container.
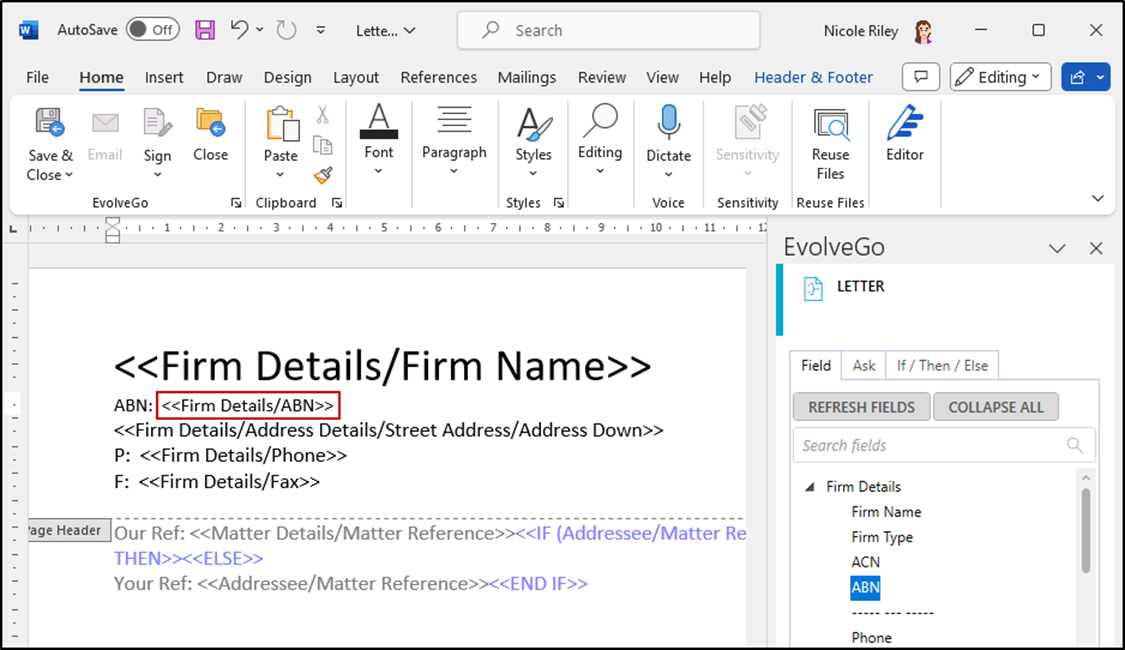
4. Place the cursor at the location in your document where you would like to insert an automated field, then double-click the field in the add-in.
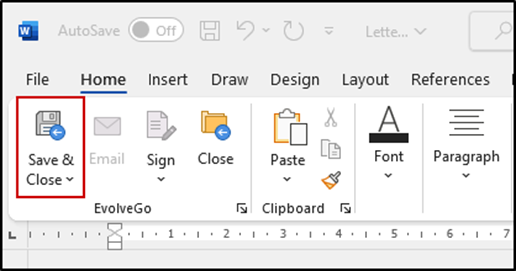
5. When you have configured all of the automated fields in your container, select "Save & Close" from the ribbon add-in.
Configuration options
The available fields for configuring your containers are separated into five distinct categories.
Firm Details – fields in this section are derived from the "Firm Details" and "Automation Settings" tabs in the Settings.
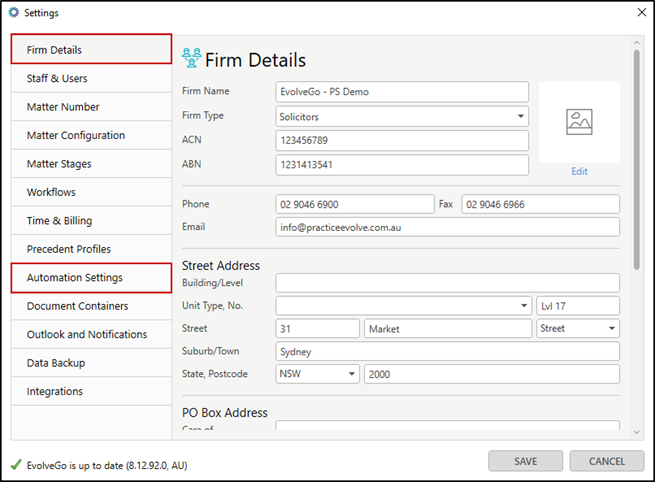
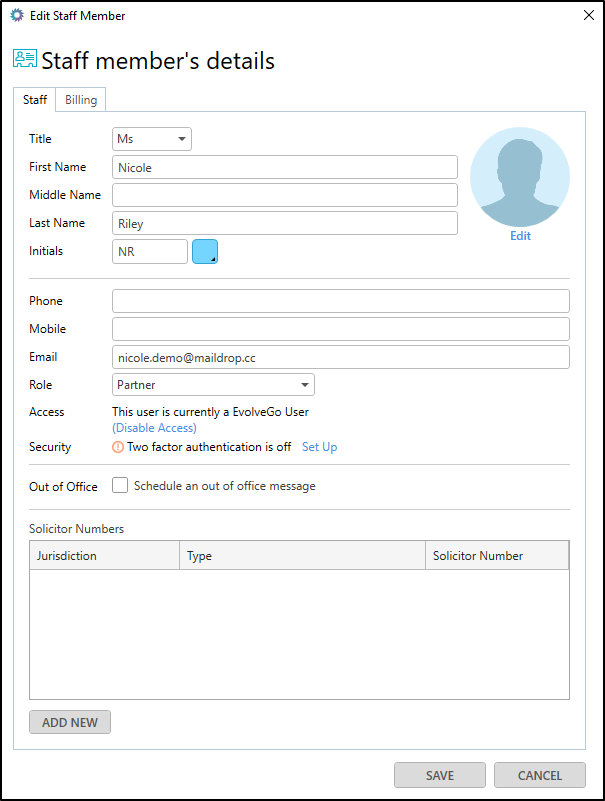
The "Firm Details" also includes fields relating to the selected user, which are derived from the Staff and User cards.
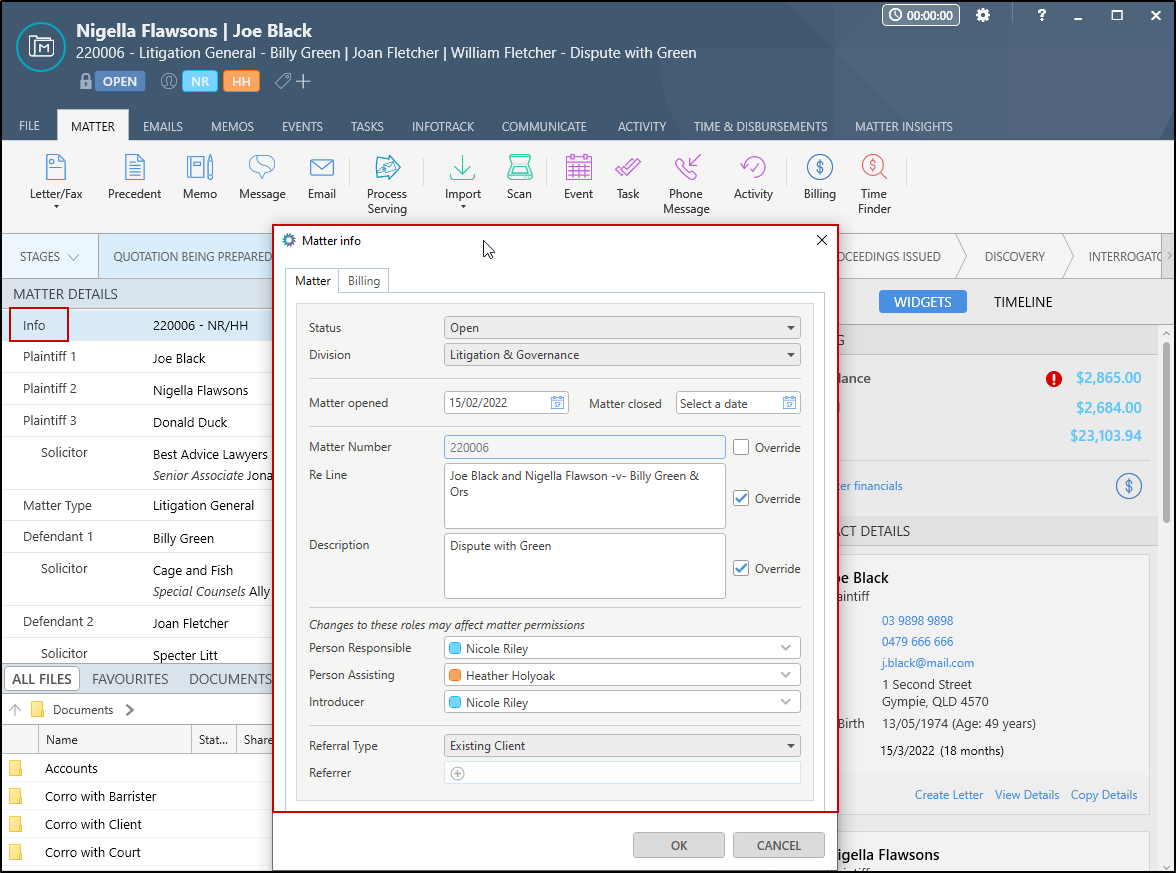
Matter Info - fields in this section are predominantly derived from the "Matter Info" field in the matters.
Addressee – fields in this section are derived from Contact cards.
Container – there are only two fields available under this category. A field for "Date Document Created", and "Body Content". It is essential that you place a Body Content field in any containers you intend to generate precedents on. This field tells EvolveGo where to insert the text from the precedent into the container.
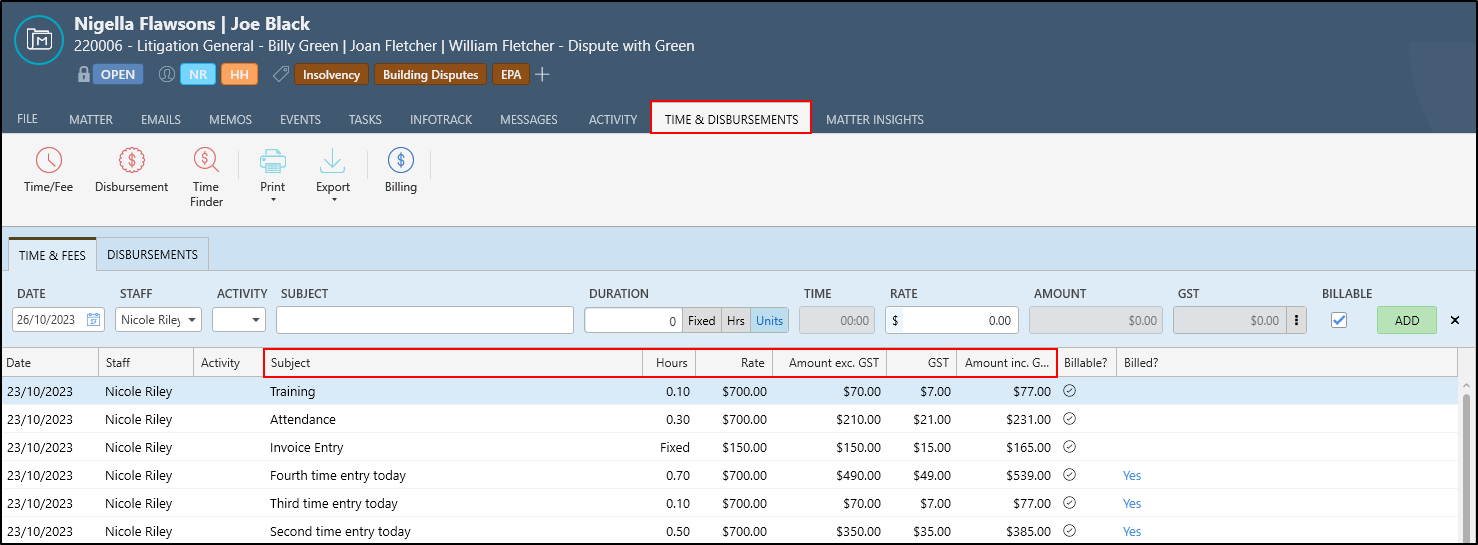
Billing - fields in this section are derived from the "Time & Disbursements" tab on your matters.
Was this article helpful?
That’s Great!
Thank you for your feedback
Sorry! We couldn't be helpful
Thank you for your feedback
Feedback sent
We appreciate your effort and will try to fix the article